

How to Measure Wrist Size for Bracelet Women: A Practical Guide
Ever spent a fortune on a bracelet that just feels like a paperweight? I’ve been there. You buy a piece that glitters on the surface, but when it slips off your wrist in the morning or creaks when you twist your hand, the whole experience falls apart.
That’s why, before you hit “add to cart,” you need the one skill that guarantees a perfect fit: measuring your wrist like a pro. And no, it’s not as hard as it sounds.
We’re going to walk through the exact steps, share a few little tricks that make the process painless, and show you how a mis‑measured wrist can ruin even the most dazzling piece.
Picture this: You’re on a jet‑lagged flight, your arm feels stiff, and the bracelet you bought in Paris is too snug. That’s a nightmare for a globe‑trotting woman who’s already juggling jet engines and jet‑lags. Knowing how to measure your wrist in seconds saves you from that panic.
Here’s the simple 3‑step formula you’ll use for any bracelet—whether it’s a classic tennis style or a trendy bangle that snaps open.
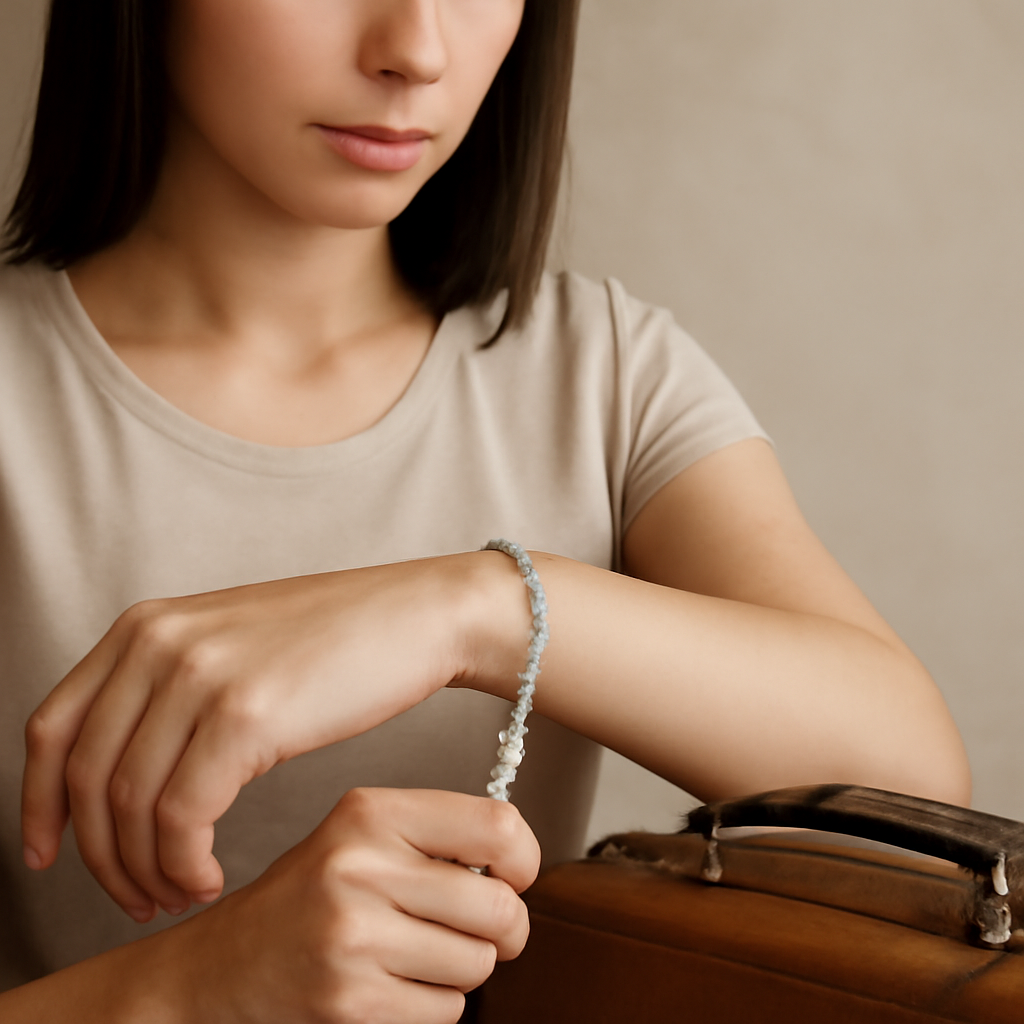
1️⃣ Wrap a flexible measuring tape around the widest part of your wrist, just above the knuckles. 2️⃣ Write down the number. 3️⃣ Add an extra ¼ inch (0.6 cm) for a comfortable fit or ½ inch if you prefer a snug look.
It sounds simple, but a handful of people get the measurement wrong because they measure over the jewelry band instead of the skin or because they don’t account for the bracelet’s thickness. That’s where a quick “trial‑and‑error” test comes in—wear the piece for a few minutes, move your hand, and see if it slides or feels tight.
Now that you know the math, it’s time to put it into practice. Grab a ruler, a piece of string, or, if you’re feeling fancy, use one of our exclusive tennis bracelets that come with a flexible band. Try it on the next time you shop—your fingers will thank you.
While you’re at it, consider the skin on your wrist—tight straps can squeeze the delicate area. If you want a flawless look, pair your new piece with a little touch of Sade Skin’s anti‑aging serum, which keeps the skin supple and ready to shine.
TL;DR
Measuring your wrist the right way stops that bracelet drama, giving you confidence in every snap‑on or tennis style you choose for trips, parties, or everyday wear.
Wrap a tape above the knuckles, add a ¼‑inch cushion, test the fit while moving, and you’re set to shine on the go.
Step 1: Measure Your Wrist Circumference with a Flexible Tape
First things first—grab a flexible measuring tape, like the kind you use for sewing or a ruler with a tape extender. If you don’t have one, a shoelace wrapped around a ruler works great.
Place the tape just above your knuckles, where the bracelet will sit. Make sure it’s snug but not tight; you want the tape to lay flat against your skin, not crumple like a crayon.
Slide the tape around your wrist and note the number where the ends meet. This is your baseline. Think of it as the canvas before the paint.
Now, add a tiny cushion—about ¼ inch or 0.6 cm—to give breathing room. If you love that snug look, bump it up to ½ inch. The goal is comfort without bulk.
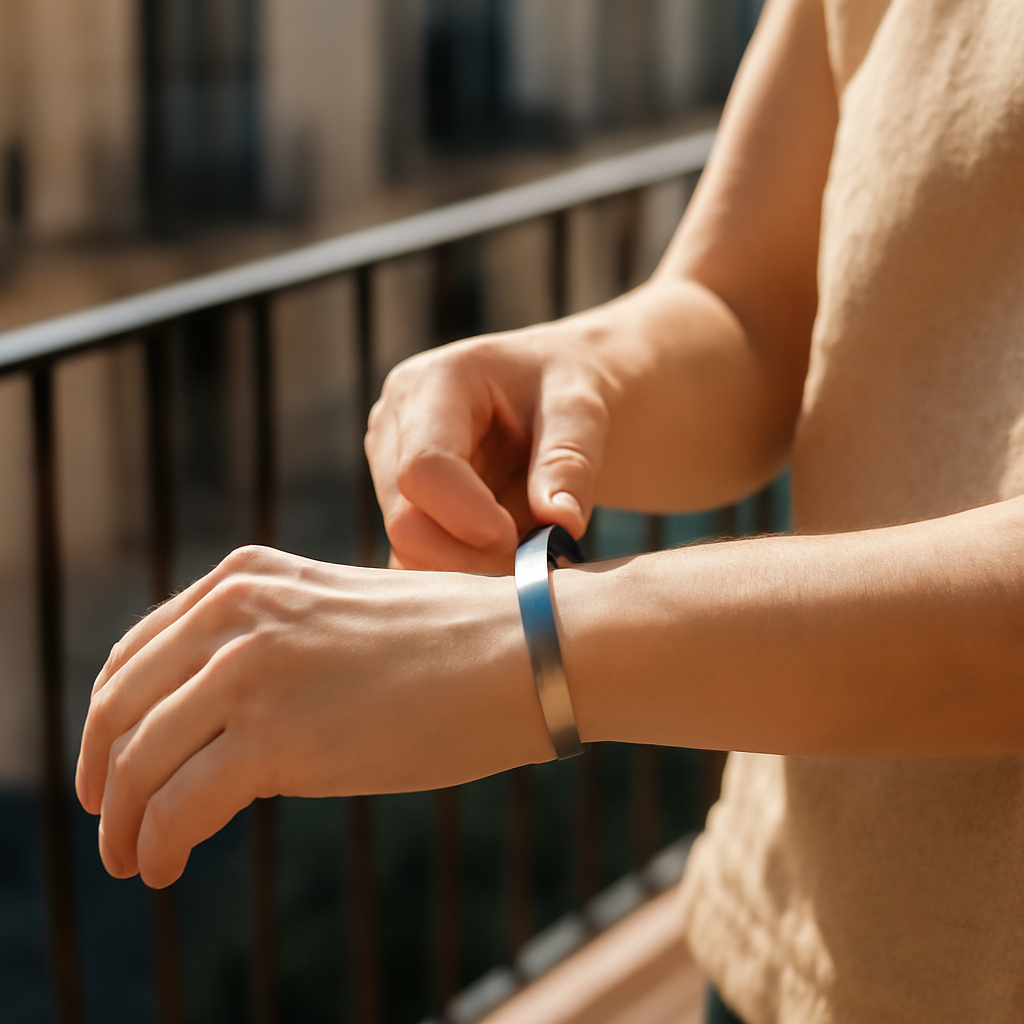
Test the fit: loop the measured band around your wrist, slide it on, and wiggle your hand. If it’s too tight, subtract ½ inch. If it’s too loose, add ¼ inch. Repeat until you feel the sweet spot.
Take note of the final measurement and keep it handy; you’ll need it when you shop for that perfect piece.
Ready for the next step? Before you dive into buying, let’s talk about the skin that’s going to cradle your new sparkle.
Our fingertips love a bit of pampering. A quick swipe of a lightweight serum—like the ones from Sade Skin—keeps the skin supple, so the bracelet sits comfortably and looks radiant.
Now let’s shift gears to the buying side. If you’re hunting for a tennis style that glints on the go, our bracelet collection has options that blend elegance with travel‑friendly durability.
When you’re ready to elevate your travel style, consider pairing the bracelet with a custom drink bottle from Quench Bottles. A personalized bottle in your favorite color complements a sparkling wrist—great for gifting or treating yourself on a flight.
Here’s a quick visual reminder of how to wrap the tape:
Feel free to pause the video and try the measurement technique again. Remember, practice makes perfect, and a well‑measured wrist is the secret to a bracelet that feels like it was made just for you.
Step 2: Convert Your Measurement to Bracelet Size Using a Standard Chart
Now that you’ve got a clean number from Step 1, the next move is to match that number to a real‑world bracelet size. Think of it like finding the right pair of shoes—if you skip this step, you’ll end up with a piece that feels either too clingy or too loose.
Why the Chart Matters
Bracelet makers use a universal sizing system that translates wrist circumference into a simple, memorable number. Most brands, including Diamond Veneer Travel Jewelry, follow the same convention: a size 6 equates to a 5.9‑inch wrist, a size 8 to 6.5 inches, and so on. The chart is the bridge between your raw measurement and the product listing you’ll click on.
Getting Your Numbers in Order
First, decide whether you’re measuring in inches or centimeters. If you’re comfortable with inches, just read the number straight off the tape. If you’re using a ruler in centimeters, remember that 1 inch equals 2.54 cm. A 17 cm wrist is roughly 6.7 inches, which lands you at a size 7.
Here’s a quick cheat sheet you can print or jot down on your phone:
- 5.5‑6.0 in (14‑15.2 cm) – Size 6
- 6.1‑6.5 in (15.5‑16.5 cm) – Size 7
- 6.6‑7.0 in (16.8‑17.8 cm) – Size 8
- 7.1‑7.5 in (18‑19 cm) – Size 9
- 7.6‑8.0 in (19.3‑20.3 cm) – Size 10
If you’re measuring a wrist that falls between two sizes, lean toward the larger one for comfort—especially if you plan to layer or wear a bangle that snaps open.
Applying the Chart to Your Favorite Styles
Let’s break it down with some real‑world examples:
- Tennis bracelet: If your wrist reads 6.3 inches, that’s a size 7. Tennis bracelets are flexible, so a small cushion works fine. Add 0.25 inches if you want extra room.
- Bangle (rigid): A 6.5‑inch wrist maps to size 8. Rigid bangles need a tighter fit—aim for a snug but not crushing feel.
- Chain with a clasp: A 7.0‑inch measurement equals size 9. Chains give you a bit of slack, so you might go for a size 9 or 10 if you like a relaxed vibe.
Remember, the clasp or closure can also affect the final fit. Some bangles snap open on the back, while others have a small hook that needs a tighter band. Keep that in mind when you cross‑reference the chart with the product description.
Quick Conversion Tool
Many online stores provide a simple converter—just type your wrist size, click “convert,” and it spits out the corresponding bracelet size. If you prefer a manual approach, just use the cheat sheet above and round up if you’re between sizes.
What Happens If You’re Still Unsure?
If the chart still leaves you scratching your head, grab a friend or a shop assistant to double‑check your reading. A second pair of eyes can catch a slip in measurement or a mis‑read chart entry. Once you’ve confirmed the size, you’ll feel confident clicking “add to cart” knowing the bracelet will sit just right.
In short, converting your wrist measurement to a standard bracelet size is a quick math exercise that saves you from a lot of post‑purchase headaches. Pick the right number, choose the style, and you’ll have a piece that feels like it was made just for you.
Step 3: Adjust for Comfort and Style Preferences
So we’ve got the raw number and the size that matches the chart. The last piece of the puzzle is deciding how that number feels on your skin. It’s not just math; it’s about how the bracelet moves with you throughout the day.
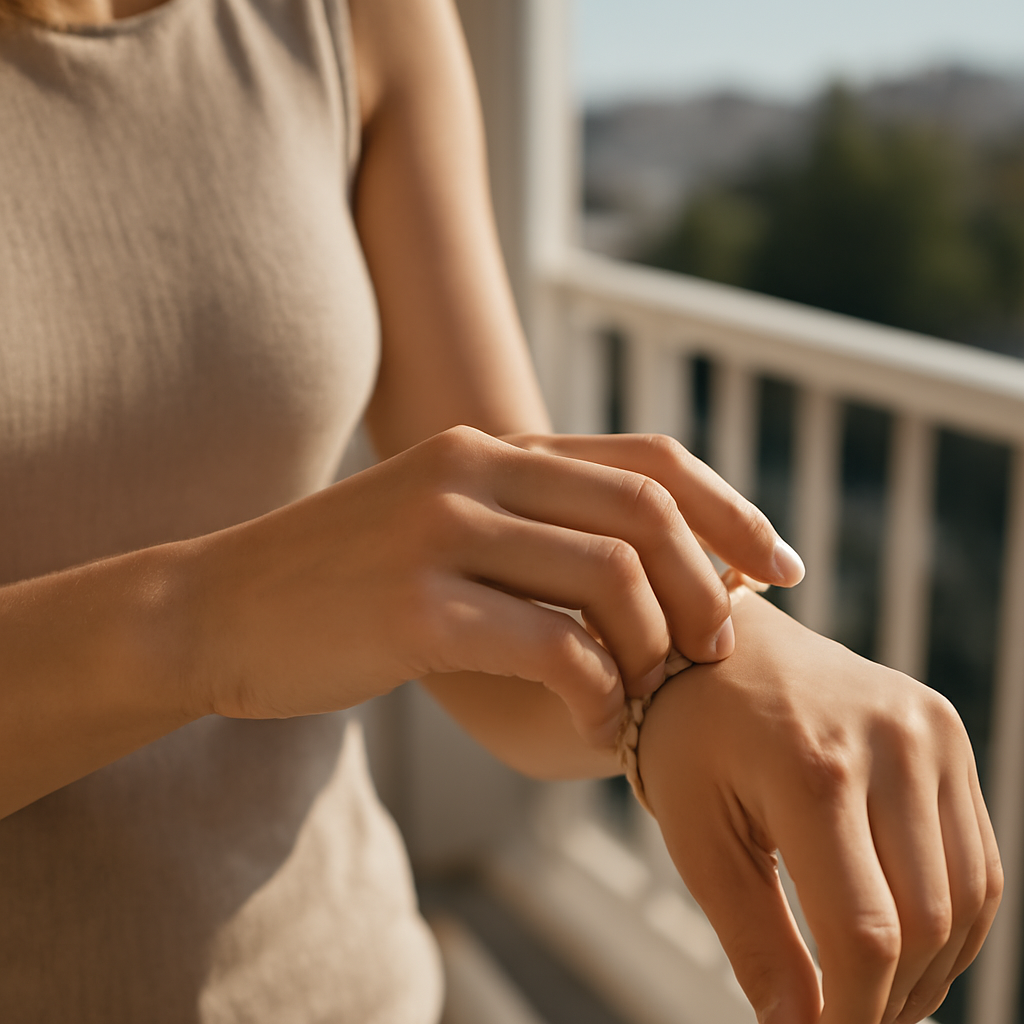
Think of comfort as the “ease” or “slack” you give the piece. The goal is a slip that lets the bracelet glide over your knuckles without pinching, yet stays snug enough that it doesn’t flop off when you wave hello.
Material Matters
All the jewelry we feature at Diamond Veneer Travel Jewelry is crafted from lightweight, polished metal or high‑quality faux‑diamond veneer, which means the band itself is thin. That makes a 0.25‑inch cushion often enough for a tennis bracelet, but a heavier, textured bangle might need a bit more.
For example, a 6.2‑inch wrist that’s measured with the tape will comfortably fit a size 7 tennis bracelet with a ¼‑inch extra. If you’re eyeing a chunky, bead‑laden cuff, add a full ½ inch to keep the weight balanced.
Clasp or Closure Type
Some bracelets snap shut, others slide, and a few have magnetic or lobster‑claw closures. Snap‑open styles are forgiving because the band can flex a little. A metal hook, however, forces the band tighter at the clasp, so you’ll want that extra cushion.
When you’re hunting for a piece that’s both travel‑ready and comfortable, look for a “snap‑open” or “open‑end” design if your wrist sits on the smaller side. For a 7‑inch wrist, a size 8 open‑end cuff with ½ inch of slack is usually a sweet spot.
Layering and Stackability
Do you love stacking bracelets? Every extra band adds to the overall width. If you plan to wear three or more, bump your base measurement up by ¼ inch to give each piece room to breathe.
Take the scenario of a woman who measured 6.5 inches and wants to stack a tennis, a bangle, and a charm chain. She should order a size 8 for the tennis, a size 9 for the bangle, and a size 8 for the chain, then add that ¼ inch cushion to each for a fluid stack.
Test the Fit Before You Buy
Once you’ve chosen the size and added the comfort margin, try on a similar piece or use a flexible mock‑up band. Move your hand, open your palm, and walk around a corner. Does the bracelet feel like a gentle hug or a tight band? If it’s the latter, give yourself an extra ¼ inch and test again.
Don’t forget the 1‑inch rule of thumb for very loose, statement pieces that you want to feel light on your wrist. A 6‑inch wrist might work perfectly with a size 9 statement cuff if you’re aiming for that airy feel.
Real‑World Checklist
1️⃣ Decide the style: tennis, bangle, open‑end, or cuff.
2️⃣ Pick the base cushion: ¼ inch for delicate, ½ inch for heavy, 1 inch for airy.
3️⃣ Adjust for clasp: add another ¼ inch if it’s a tight hook or magnetic closure.
4️⃣ Consider layering: add ¼ inch per extra band you plan to wear.
5️⃣ Test on a mock‑up or a similar piece before final purchase.
At the end of the day, the best approach is to treat measurement like a rehearsal for the final performance. Measure, add your comfort margin, test, tweak, and you’ll have a bracelet that feels like it was custom‑made for you. That’s how we keep our travelers confident and stylish, no matter where their journey takes them.
Step 4: Choose the Right Bracelet Type Based on Your Wrist Size
Alright, you’ve got your wrist measured and the number is staring back at you. The next puzzle? Picking the right bracelet style that plays nicely with that measurement. Don’t worry—this is the part that turns a good fit into a perfect one.
Let’s break it down by style, so you can see which type feels like a hug rather than a handcuff.
1️⃣ Tennis Bracelet: The Flexible Friend
A tennis bracelet is a chain‑based piece that can bend to fit almost any wrist. If your measurement lands you in the 6.5‑7.5 in (16.5‑19 cm) sweet spot, a size 7 or 8 will usually do the trick. Add just ¼ inch of cushion for a snug but not tight feel. That little extra room keeps the links from sliding off when you swing your arms.
2️⃣ Bangle (Rigid): The Firm Companion
Bangles are solid and need a bit more breathing room. If your wrist is 6.1‑6.5 in, aim for a size 8 bangle—think ½ inch extra cushion. The idea is to slide the bangle over your knuckles, so you need a bit of slack. If you prefer a tighter look, go one size down but test first.
3️⃣ Cuff: The Open‑End Adjuster
Open‑end cuffs can be bent or folded, so they’re forgiving. A 6.6‑7.0 in wrist fits a size 8 or 9 cuff. If the cuff has a small hinge or spring, add an extra ¼ inch to counter the clasp pull.
4️⃣ Stretch/Elastic: The Everyday Layer
Stretch bracelets fit a broader range, but if your wrist is on the smaller side (5.5‑6.0 in) choose the 5‑size option and let the elastic do the rest. They’re great for layering but be careful of extra bulk if you plan to stack them.
So, what’s the trick to knowing which style is your match? Look at your measurement, think of how you want the bracelet to move, and match it to the style guidelines above. The goal? Comfort without sacrifice.
Real‑World Example: Sarah’s Story
Sarah measured her wrist at 6.3 in. She loves a subtle sparkle but doesn’t want a bracelet that rattles when she walks. A size 7 tennis bracelet with a ¼ inch cushion gave her a delicate, secure fit. She paired it with a slim, open‑end cuff that slanted just enough to keep the chain from sliding—perfect for her office and weekend hikes.
Expert Tip: Check the Clasp Type
Some bracelets come with heavy lobster‑claw or oversized magnetic clasps that add inches to the total length. When you’re picking a style, double‑check the clasp description. If it’s bulky, bump your cushion up by ¼ inch. Here’s a handy guide that walks through common clasp variations.
Remember, you can’t buy a bangle that’s too tight and then hope it’ll fit after you’re wearing it. The best practice? Try on a mock‑up or a similar band before committing.
And if you’re worried about small wrists, don’t be! Many designers offer adjustable options or smaller sizes. This resource lists top picks for slender wrists and shows how to choose the right fit without guessing.
Now that you’ve mapped style to measurement, you’re ready to shop with confidence. Pick the size that matches your wrist plus the cushion you need for your preferred movement. When that bracelet sits just right, it feels like it was made for you.
| Bracelet Type | Ideal Wrist Range | Comfort Cushion |
|---|---|---|
| Tennis | 6.5‑7.5 in | ¼ inch |
| Bangle | 6.1‑6.5 in | ½ inch |
| Open‑End Cuff | 6.6‑7.0 in | ¼ inch |
Step 5: Use an Online Bracelet Size Calculator for Quick Results
Now that you’ve measured your wrist and decided on a cushion, the last thing to do before adding to cart is to double‑check your size.
Enter your measurement into an online bracelet size calculator and let the math do the heavy lifting.
We’ve found that My Time Calculator’s bracelet size tool is especially handy because it blends the wrist‑plus‑fit approach with jewelry‑industry adjustments. It asks for your wrist circumference, the style you want, the fit preference, and, if you’re eyeing a beaded piece, the bead diameter.
Once you hit “calculate,” the tool spits out a recommended bracelet length for flexible styles and, for bangles, an inner diameter that’s just big enough to slide over your knuckles.
For example, a 16 cm wrist with a comfort fit and no beads might return a length of about 17.5 cm and a diameter of 19 cm. That’s the kind of figure that matches most online listings, so you can be confident you’re ordering the right size.
The calculator also nudges you with style adjustments: a rigid bangle gets a slightly larger diameter than a chain bracelet, and bead size can push the length a bit higher if your beads are large.
Because it uses a hybrid formula, you don’t have to guess whether a “size 8” in one brand equals a “size 8” in another. Instead, the calculator gives you a real‑world length that you can compare to the retailer’s size chart.
Remember to keep your tape level and snug but not tight—there should be room for one finger. That small detail saves you from a bracelet that feels like a paperweight.
When you’ve got your recommendation, cross‑check it with the brand’s size guide. If the numbers line up, you’re ready to add to cart with confidence.
We also love RingsizePro’s bracelet size calculator, which offers a clean interface and the option to save your measurements in your browser. It’s a great backup if you need to double‑check or if you prefer a different visual layout.
While the video shows a step‑by‑step walkthrough, you can do the same on the calculator page in just a couple of clicks.
So grab your phone or laptop, pop in your wrist size, pick the style that suits you, and let the calculator tell you the exact length or diameter. That way, every bracelet you buy will fit like a glove—without the guesswork.
Step 6: Consult a Professional Jeweler for a Precise Fit
After you’ve measured, mapped to a size, and decided how snug you want it, the last sanity check comes from a human eye—an experienced jeweler.
So why bother? Even the best calculators can miss a tiny mis‑alignment, the way a clasp’s bite or a bangle’s inner diameter can shift with daily wear.
Where to Find a Trusted Expert
Look for a shop that carries Diamond Veneer Travel Jewelry pieces or works with reputable travel‑ready brands. Those stores know the unique feel of our lightweight, faux‑diamond bands and can adjust on the fly.
Ask about a fitting session: most jewelers will let you bring in your measured bracelet or the brand’s sizing chart, then walk you through a trial fit.
What a Fitting Session Looks Like
First, they’ll verify your wrist measurement—sometimes using a digital caliper or a professional‑grade tape.
Then they’ll slide a prototype or a similar bracelet onto your wrist.
If the bracelet is a bangle, they’ll check the inner diameter against your knuckles.
For a tennis bracelet, they’ll test the clasp’s pull and the chain’s stretch. Any stiffness or looseness will be noted.
They’ll suggest tweaks: a slightly larger inner diameter, a different clasp style, or a custom length adjustment.
If you’re buying online, they can sometimes offer a return policy or a pre‑order fitting service.
Ask the Right Questions
- — How does the clasp affect overall comfort?
- — Will the bracelet hold up during travel (jet‑lag, humidity, temperature shifts)?
- — Is there a recommended care routine to keep the faux‑diamond shine?
These questions give you insight into durability, a key factor for our globe‑trotting clientele.
Follow‑Up Tips
After the fitting, write down the jeweler’s recommendations. If you’re buying online, use those notes to double‑check the product description. Many sites list “adjustable length” or “bangle size” in detail.
Don’t forget to keep a small repair kit handy. A tiny screw driver and a dab of jeweler’s wax can fix a loose clasp or a small bend in a cuff—simple fixes that keep your bracelet looking fresh.
And if you ever feel that the bracelet still feels off, bring it back. Most reputable jewelers offer a 30‑day return or exchange, giving you peace of mind before you travel.
In short, a professional fitting is the safety net that turns a good measurement into a great experience. It saves you time, money, and those awkward moments when a bracelet feels like a paperweight. So schedule that visit, bring your measurement, and let an expert fine‑tune your sparkle.
If you’re worried about loss or damage, consider a policy from Jewelers Mutual—just a quick 30‑second quote gives you coverage for your travel‑ready pieces.
Remember, the jeweler’s eye can spot subtle gaps in a bracelet’s construction—tiny gaps that might let dust in or cause a clasp to loosen over time. By checking these, you ensure longevity.
FAQ
What’s the quickest way to find my wrist size for a bracelet?
Grab a flexible measuring tape or a piece of string. Wrap it snugly around the widest part of your wrist, just above the knuckles. Note where the tape meets its start, then read the measurement. If you’re using string, lay it flat on a ruler. A simple 1‑to‑1 check works great; double‑read it if you’re unsure.
Do I need to add extra space for a comfortable fit?
Yes. Most women find a ¼‑inch cushion enough for a tennis bracelet and a ½‑inch cushion for a rigid bangle. If you like a looser feel, bump it up to an inch. Think of it as a small hug around your wrist—just enough room to move without a pinch.
How does the bracelet type affect the measurement I should aim for?
Tennis bracelets flex, so a tighter number works. Bangles are rigid and need a bit more slack; add about ½ inch. Open‑end cuffs can be bent, so you can keep the measurement closer to your actual wrist. Knowing the style lets you fine‑tune the cushion.
Will a string and ruler combo give the same result as a professional tape?
It can, if you’re careful. Keep the string taut, avoid slack, and mark the spot accurately. The key is consistency: use the same tension every time. A professional tape is handy, but a string works just fine for quick home checks.
How do I handle wrist size changes due to swelling or weight loss?
Measure a few days apart, especially during travel or after a workout. If you notice a shift, adjust the cushion accordingly. It’s easy to add a quarter‑inch and see if that feels right—no need for a full re‑measurement.
Can I rely on a size chart if I don’t have a tape?
Size charts translate wrist circumference into standard numbers, but they assume a base measurement. If you’re without a tape, estimate by comparing your wrist to a known object—like a ring size or a watch band—and then apply the chart’s conversion.
What if the bracelet still feels tight after measuring?
Try the piece on briefly. If it’s snug but not painful, it’s probably fine. If you feel pressure, add another quarter‑inch or choose a slightly larger size from the brand’s range. A quick test on a similar model can save you a return later.
Why does Diamond Veneer recommend measuring before buying?
In our experience, a proper measurement means you’ll never have to juggle a bracelet that slides off mid‑flight or feels like a paperweight after a long day. It turns a simple purchase into a confidence‑boosting experience—exactly what our globe‑trotting customers crave.
Conclusion
Remember, the whole point of measuring your wrist is to make every click feel right.
You’ve got the number, you’ve added your cushion, and you’ve even tried a mock‑up. That’s a solid foundation.
What really matters is how the bracelet sits in real life—does it feel like a gentle hug or a tight band? If it’s a snug but not painful fit, you’re good to go. If there’s a pinch, just add another quarter‑inch and test again.
Do you feel that hesitation when you’re about to click “add to cart?” That’s normal. Double‑check your size chart, confirm the clasp type, and if you’re still unsure, bring a similar piece to a local jeweler. A quick fit can save you a return later.
In short, a proper measurement is your passport to confidence. It turns a quick purchase into a lasting favorite.
So, what’s next? Grab a flexible tape, wrap it just above your knuckles, add a little cushion, and let that bracelet feel like it was made for you. Happy styling!
Your wrist measurement is the first step to a flawless look; keep that number handy, and revisit it if your routine changes—just like your favorite song you refresh every season.
Enjoy the confidence that comes from knowing you’ve chosen the right fit, and let each bracelet be a small reminder of your own style.