

How to Tell Cubic Zirconia from Diamond: A Practical Step-by-Step Guide
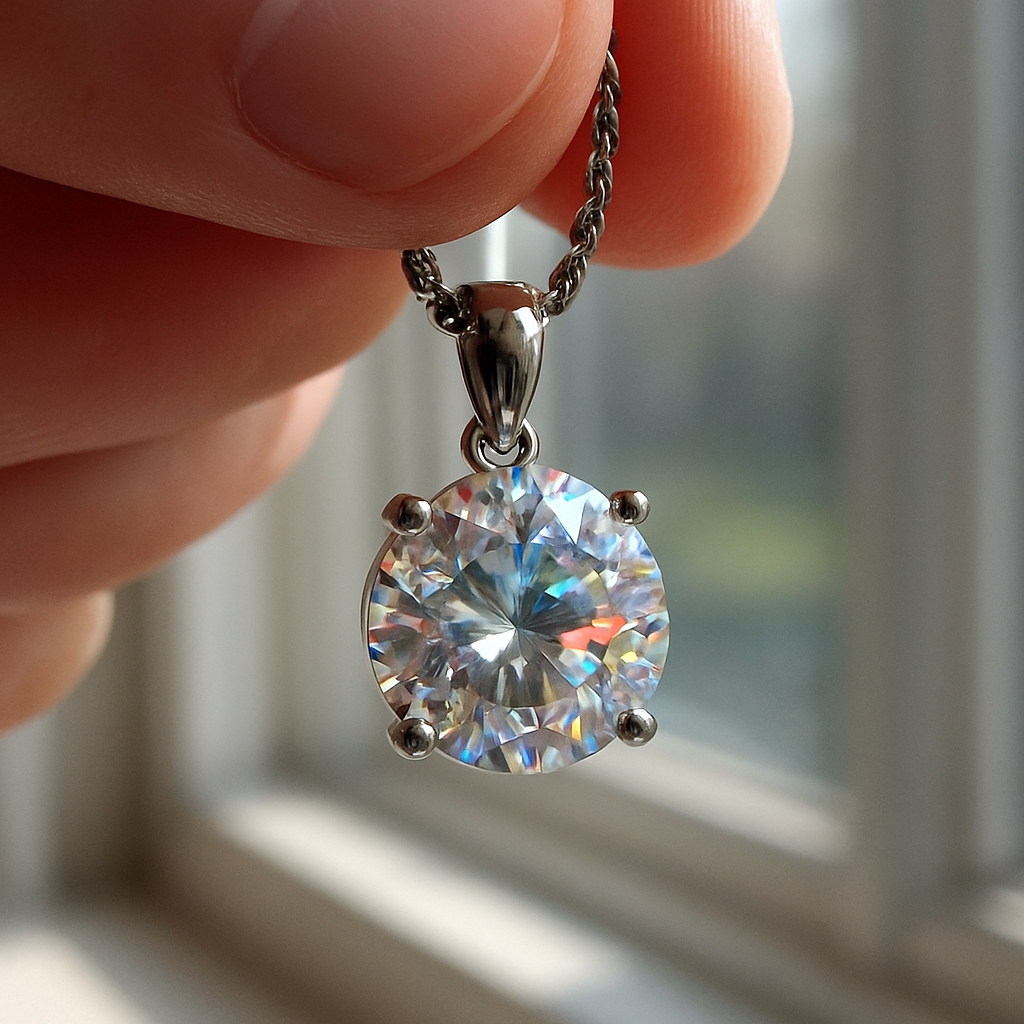
Ever stared at a glittering pendant and wondered if that fire is real or just a clever copy? You're not alone.
That moment of hesitation—maybe you're about to seal a business deal in a hotel lobby or simply want to sparkle on a weekend getaway—can feel oddly stressful.
In the world of travel jewelry, the line between genuine diamonds and cubic zirconia often blurs, especially when designers polish the stones to a mirror‑like finish.
But here's the good news: you don't need a lab report or a pricey gemologist to tell how to tell cubic zirconia from diamond. A few simple tricks in your pocket can save you from overpaying.
First, notice the sparkle. Real diamonds scatter light into a rainbow of colors, while cubic zirconia tends to produce a single, white‑bright flash that looks a bit too perfect.
Next, give it the "fog test." Breathe on the stone; a diamond will stay clear, whereas a CZ will fog up for a second before clearing.
Another tell‑tale sign is the weight. Cubic zirconia is about 1.5 times heavier than a diamond of the same size, so a pendant that feels oddly solid might be a CZ.
Check the setting, too. Many travel pieces use prong settings that are looser on CZs, making the stone wobble slightly when you tap it gently.
And if you have a magnifying glass or a jeweler’s loupe, look for the "grid" pattern—diamonds often show subtle growth lines, while CZs have a flawless, glassy surface.
Lastly, consider price. If the sparkle comes with a price tag that seems too good to be true for a "diamond" piece, trust your instincts and investigate further.
Remember, the goal isn’t to become a scientist; it’s to feel confident that the jewelry you wear on your next flight or brunch matches your style and budget.
So, the next time you’re eyeing that dazzling necklace, run through these quick checks, and you’ll know exactly how to tell cubic zirconia from diamond without breaking a sweat.
TL;DR
If you’re juggling travel plans and a sparkly pendant, learning how to tell cubic zirconia from diamond saves you from overpaying and keeps your look effortless.
Use our quick fog test, weight check, and loupe glance to spot the real sparkle in seconds, so you can jet‑set confidently today anywhere.
Step 1: Examine the Sparkle and Light Reflection
First thing you notice when you lift a pendant to the light is that flash of sparkle. If that flash feels like a rainbow of tiny fireworks, you’re probably looking at a real diamond; if it looks more like a single bright glare, it could be cubic zirconia.
Why does that matter? Because the way a stone bends and scatters light is the quickest visual cue you have, especially when you’re on a lay‑over and don’t have a jeweler’s loupe handy.
Look for fire versus flash
Real diamonds have what's called "fire" – the ability to break white light into multiple colours. Hold the stone over a white shirt or a piece of paper and watch. Do you see hints of red, blue, or green flickering across the surface? That’s fire. Cubic zirconia, on the other hand, tends to give off a uniform white sparkle that never changes colour.
Tip: tilt the stone slowly. The fire in a diamond will shift and dance as the angle changes, while a CZ’s sparkle stays static.
Check the reflection pattern
Another clue is the pattern of reflections you see when you look at the stone from different sides. Diamonds usually show a mix of bright spots and dark “windows” where light is absorbed deep inside the crystal. CZs are more glass‑like, producing a smooth, almost mirror‑like surface with fewer dark areas.
Imagine you’re sipping coffee at a bustling airport lounge. You pull out your pendant, angle it toward the window, and notice a few dark patches sliding across the stone. That’s a good sign you’re dealing with a diamond.
Does this feel a bit overwhelming? Not at all. You can practice with any piece of jewelry you already own. Grab a cheap glass bead and compare its reflection to your pendant – the glass will behave more like CZ, giving you a baseline.
Use a simple “sparkle test” on the go
Here’s a quick routine you can run in a hotel bathroom or even a plane tray table:
- Hold the stone close to your eye and move it side‑to‑side. Notice if the sparkle changes colour.
- Tap the stone lightly against a fingernail. A diamond will produce a crisp, high‑pitched “ping,” while CZ gives a duller thud.
- Look at the stone against a dark background. A diamond’s fire will stand out, whereas CZ may look flat.
We’ve found that travellers who master these visual cues save themselves from pricey mistakes, especially when shopping in duty‑free boutiques.
Need a visual demonstration? Check out this short video that walks you through the sparkle test step by step.
While you watch, think about the last time you bought a pendant on a whim. Did you pause to examine its fire, or did you rely on the sales pitch? If you’re curious about where to find trustworthy advice beyond the jewelry counter, we often recommend the local experts at Gratitude Studios. They’ve helped many travellers spot the difference before committing to a purchase.
Now that you’ve got the sparkle basics down, you’re ready for the next step: the fog test. It’s a tiny trick that can confirm what your eyes just hinted at.
Step 2: Conduct the Fog Test
Alright, picture this: you're in a cramped airport bathroom, the mirror fogged up from the hot shower, and you pull out the pendant you just bought. You’ve heard about the fog test, but does it really work on the go?
Here’s the skinny. When you breathe on a stone, a real diamond wipes the vapor away almost instantly. Cubic zirconia, on the other hand, holds the mist for a beat—usually a couple of seconds—before it clears. The reason? Diamonds conduct heat way better than CZ, so they disperse the warm breath quickly.
Step‑by‑step fog test
1. Make sure the stone is loose. If it’s set in a tight bezel, you’ll only see fog on the metal, not the gem. Gently lift the pendant or lay the stone on a piece of newspaper.
2. Take a deep breath. Hold the stone about an inch from your mouth and exhale a short, steady puff. You don’t need to fog the whole mirror—just a quick breath.
3. Watch the reaction. If the surface stays cloudy for a second or two, you’re likely looking at CZ. If the cloud disappears in a flash, that’s a strong hint it’s a diamond.
4. Repeat if you’re unsure. Sometimes humidity in the cabin or a cold stone can trick you. Do a second breath from a slightly different angle.
Sounds simple, right? But there are a few quirks that can throw you off.
Common pitfalls and how to avoid them
- Temperature tricks. A stone that’s been sitting in a cold carry‑on will fog longer, even if it’s a diamond. Warm it up with the heat of your hand for a few seconds before testing.
- Coatings and treatments. Some fashion pieces have a thin protective coating that can slow down the fog‑clearance. If you suspect a coating, give the stone a gentle rub with a soft cloth first.
- Size matters. Tiny accent stones are harder to judge because the fog clears so fast you might miss it. In those cases, combine the fog test with the weight check you read earlier.
Does this still feel a bit fuzzy? You’re not alone. Even seasoned travelers sometimes need a second opinion.
When to call in a pro
If the fog test leaves you hanging, a quick trip to a reputable jeweler can save you the guesswork. Many use a simple thermal probe that reads the same conductivity principle without the “breath‑on‑the‑stone” drama.
Luvari notes that “a diamond clears the fog almost immediately, while cubic zirconia remains hazy for several seconds” – a reliable rule of thumb you can trust in the field. Read more about the science behind it.
And if you’d rather see the test in action, there’s a handy YouTube walkthrough that demonstrates the breath technique step by step. It’s short enough to watch on a flight screen and gives you a visual cue for what “instant clear” looks like. Watch the fog test demo.
Quick recap checklist:
- Stone is loose or on a flat surface.
- Warm the stone if it’s been in the cold.
- Exhale a steady breath, watch for 1–2 seconds.
- Instant clear = likely diamond; lingering fog = likely CZ.
Now that you’ve got the fog test down, you can walk through security with a little more swagger, knowing you’ve got a solid clue about what’s really sparkling on your neck.
Step 3: Compare Weight and Hardness
Alright, you’ve already cleared the fog and you know whether the stone wipes away vapor fast. Next up, let’s get a feel for the stone – literally. The moment you pick up a pendant or a ring, does it feel a little heavier than you expected? That tiny “extra” weight could be the giveaway you need when you’re trying to figure out how to tell cubic zirconia from diamond.
Why weight matters
Both diamonds and cubic zirconia (CZ) look almost identical to the naked eye, but they’re made of very different materials. CZ is about 1.7 times denser than a diamond of the same size. In plain English, a CZ pendant that looks the same size as a genuine diamond will feel noticeably solid in your hand. That extra heft is the first red flag that you might be holding a simulant.
Want the exact numbers? The hardness and density comparison from Grown Diamond Corp breaks it down: diamonds sit at a perfect 10 on the Mohs scale, while CZ lands at 8.5, and CZ’s density is roughly 1.7 × that of a diamond.
How to test weight on the go
If you’re at the airport, a kitchen‑scale in your carry‑on might feel overkill, but a simple trick works: hold the stone against a known reference – like a stainless‑steel pen or a small coin. Does the pendant pull your hand down a notch? If you’re unsure, slip it onto a cheap fashion ring you know is CZ and compare the feel. The heavier piece is likely the CZ.
For a more precise read, a pocket digital scale (yes, the kind travelers love for luggage) can give you a carat‑to‑carat weight. A 0.5 ct CZ will often weigh about 0.85 g, while a 0.5 ct diamond will be closer to 0.5 g. Those grams add up quickly.
Hardness: the scratch test (use with caution)
Because diamonds are the hardest natural material, they resist scratches like a champ. CZ, sitting at 8.5, will show a faint mark if you run a steel nail or the tip of a key across a facet. If you see a tiny line, you’re probably dealing with CZ. But remember, you don’t want to damage a potential heirloom, so only try this on pieces you’re comfortable sacrificing.
The Gem Society’s guide warns that repeated scratching will dull CZ faster, which is why many travelers keep a spare “stunt double” for everyday wear.
Quick visual cheat‑sheet
| Property | Cubic Zirconia (CZ) | Diamond |
|---|---|---|
| Density (weight per carat) | ~1.7× heavier | Standard |
| Mohs hardness | 8.5 | 10 |
| Typical feel in hand | Solid, slightly heavier | Light, buoyant |
Keep that table handy in your mind (or on a quick note app). When you compare a stone’s heft and its resistance to a gentle scratch, you have two solid data points to add to the fog test you already mastered.
Real‑world scenario
Imagine you’re boarding a flight to Paris and you pull out a dazzling pendant that caught your eye at a boutique in Rome. You exhale, the fog clears – good sign. Now, you give it a quick weight check against your boarding pass. It feels a tad heavier than your gold‑plated watch. A tiny scratch with the tip of your pen leaves a faint line. Putting the clues together, you’re leaning toward CZ – a perfect travel‑friendly “stunt double” that won’t break the bank.
Checklist before you close the case
- Feel the stone: does it feel unusually solid?
- Compare to a known reference weight (coin, pen, cheap ring).
- If possible, weigh it on a digital pocket scale.
- Do a gentle scratch test with a steel nail or key tip.
- Cross‑reference the results with the fog test.
When all three signs point to the same answer, you can walk through security with confidence, knowing you’ve nailed how to tell cubic zirconia from diamond without a lab report. And if you ever need a second opinion, a quick visit to a trusted jeweler can confirm your DIY diagnosis.
Step 4: Use Professional Tools – Loupe & Microscope
When you’ve already checked sparkle, fog and weight, the next game‑changer is a quick look under magnification. A jeweler’s loupe (usually 10×) and a pocket microscope (30×–60×) are cheap, travel‑friendly tools that let you see what the naked eye can’t.
First, pop the loupe over the stone and tilt it toward a light source. Real diamonds tend to have clean, sharp edges and a mirror‑like surface. Cubic zirconia often shows a faint, glassy film or tiny surface scratches that catch the light unevenly.
What to hunt for with a 10× loupe
Look for the classic “grid” pattern that diamonds sometimes display – a subtle lattice of growth lines. CZs are usually flawless in that regard because they’re lab‑grown, so you’ll see a completely uniform surface.
Next, check the facets. A diamond’s facets are precisely cut, so the borders appear crisp and the reflections line up like tiny mirrors. If the edges look a bit rounded or the facet junctions are fuzzy, you’re probably staring at a CZ.
Do you ever notice a tiny bubble or haze when you stare at a stone up close? Those are internal inclusions that diamonds can have, but many high‑quality CZs are completely clear. The absence of any inclusions isn’t a guarantee, but a single, well‑placed bubble is a strong hint of cubic zirconia.
Zooming in with a pocket microscope
Now crank the magnification up. A 30×–60× microscope reveals micro‑cracks, polish marks and the tell‑tale “ripple” that forms when CZ is cut from a larger crystal. Real diamonds rarely show these ripples; instead you’ll see a clean, faceted interior.
Turn on the built‑in LED (or use a phone flashlight) and focus on the pavilion (the bottom part of the stone). If you see a faint, wavy line running across the pavilion, that’s a sign of cubic zirconia’s crystal growth. Diamonds, on the other hand, will display a more random scattering of tiny internal reflections.
Another clue is the hardness of the surface. Diamonds resist tiny scratches even under high magnification. Gently run a steel nail tip across an edge; if you can see a microscopic nick, you’re probably dealing with a CZ, which is softer than diamond (10 on the Mohs scale vs. 8.5 for CZ). The GIA notes that cubic zirconia’s density ranges from 5.6‑6.0 g/cm³, compared with diamond’s 3.5 g/cm³, and its hardness is lower, which translates into more visible wear under a microscope GIA research on cubic zirconia characteristics.
Practical checklist for the jet‑set traveler
- Carry a lightweight 10× loupe in your carry‑on. It fits in a pocket or a small zippered pouch.
- If you have a pocket microscope, pack it in a protective case – many models are the size of a travel‑size flashlight.
- When you’re on a layover, find a well‑lit spot (airport lounge window, café window) and run through the loupe‑then‑microscope routine.
- Take a quick photo through the loupe with your phone; the macro mode can capture the same view for later reference.
- If anything looks off – fuzzy facets, bubbles, ripples, or easy scratches – set the piece aside and consider a professional opinion before you pay for it.
And here’s a tiny pro tip: many modern pocket microscopes have a built‑in measurement scale. Use it to compare the size of any visible inclusions against the stone’s overall dimensions. The smaller the defect relative to the stone, the more likely you’re dealing with a high‑quality diamond.
So, what’s the bottom line? A loupe gives you a fast confidence boost, and a microscope lets you confirm the details you can’t see with the naked eye. Together they’re a powerful, low‑cost duo that helps you separate genuine sparkle from a glittering impostor – all without stopping your travel plans.
Step 5: Seek Expert Certification and Final Verification
You've run the sparkle test, the fog test, the weight check, and you've even magnified the stone with a loupe. At this point the question is: do you trust your own verdict, or do you need a professional seal of approval? The answer is simple – when you’re about to spend serious money or wear the piece on a high‑stakes occasion, getting an expert certification is the safety net you deserve.
Why a certificate matters
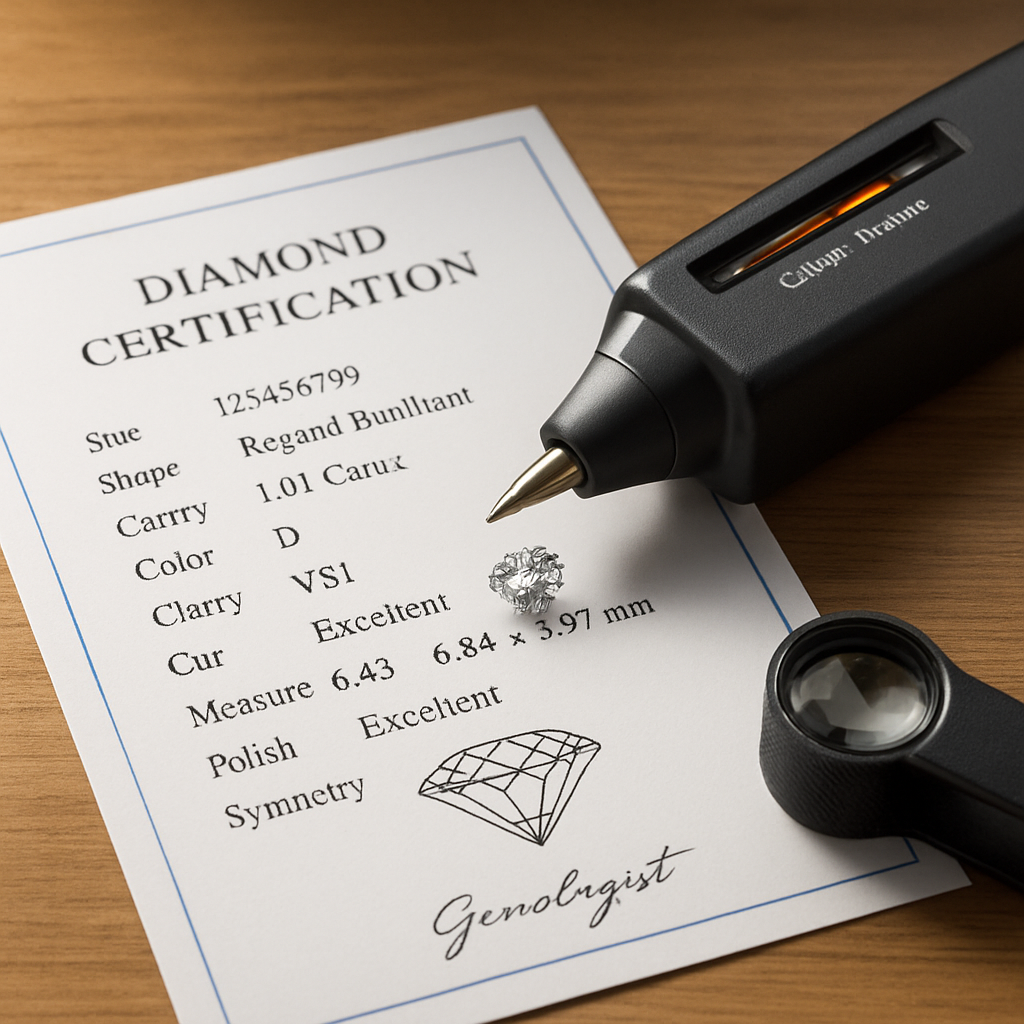
Think about it like a passport for your jewelry. A gem‑lab report tells you the exact carat, cut, color, and clarity – the four Cs – and, crucially, whether the stone is a natural diamond, a lab‑created diamond, or a cubic zirconia (CZ) simulant. Without that paper trail, you’re left with a gut feeling that could be wrong.
In our experience, travelers who bring a certified stone through airport security report far fewer questions from agents. The certificate acts as a universally understood credential, cutting down on awkward inspections.
Choosing the right lab
Not all labs are created equal. Look for GIA‑accredited labs, IGI, or AGS – these organisations have rigorous standards and their reports are recognized worldwide. If you’re buying from a boutique that claims its own in‑house grading, ask to see the original lab report, not just a copy.
For a quick sanity check, compare the report’s laser inscription on the girdle with the number on the certificate. Most reputable labs laser‑engrave a unique ID that matches the document. If the numbers don’t line up, walk away.
Step‑by‑step: Getting certified on the go
1. Locate a reputable jeweler. In major travel hubs like London Heathrow, Dubai International, or Singapore Changi, there are often trusted gem‑shops inside the terminals. A quick Google search for “GIA‑certified jeweler near [airport]” usually yields a reliable option.
2. Request a full lab report. Explain you need verification for a potential CZ versus diamond purchase. Most labs will provide a PDF on the spot for a modest fee (typically $30‑$60).
3. Ask for a thermal conductivity test. A handheld diamond tester uses heat flow to differentiate diamonds from CZ. While not 100% foolproof, it adds another data point.
4. Document the process. Take a photo of the tester reading, snap the report’s first page, and note the lab’s accreditation number. Store everything in a cloud folder you can access from any device.
5. Verify the report online. Most labs have an online verification portal where you can enter the report number to confirm its authenticity.
Real‑world example
Maria, a frequent flyer, bought a pendant in a Milan boutique. The sparkle looked genuine, but the price felt too good. She took the stone to a GIA‑certified kiosk at Frankfurt Airport. The lab report revealed the stone was a high‑grade CZ with a diamond‑like coating. Maria swapped it for a certified 0.25 ct diamond on the same trip, saving herself a potential regret.
Another traveler, Jamal, purchased a statement ring in Tokyo. He already had a GIA report, but the seller claimed the stone was “lab‑created diamond.” By cross‑checking the report’s laser inscription, Jamal confirmed the stone was indeed a lab‑created diamond, not a CZ, and felt confident wearing it on his business dinner in New York.
Tips from the pros
• Don’t skip the insurance step. Once you have a certificate, insure the piece for its reported value – many travel insurance policies cover certified jewelry.
• Ask about a coating. Some CZ pieces are coated with a thin layer of carbon diamond to mimic the look of a real diamond. A certified lab will note any coating in the report.
• Keep the report with the jewelry. Store a digital copy on your phone and a printed copy in a safe place. If you ever need to resell, the report adds resale value.
Where to learn more
Curious about how advanced coatings can make CZ virtually indistinguishable from a diamond? DIAMOND VENEER REVOLUTIONIZES CUBIC ZIRCONIA … dives deep into the technology behind our signature finish.
Need a broader perspective on precious‑metal care while you’re at it? Check out this guide on sterling silver: What Is S925 Sterling Silver? A Complete Guide. Understanding the care of other metals can help you keep your entire jewelry collection looking runway‑ready.
FAQ
How can I quickly tell if a stone is cubic zirconia or a diamond while traveling?
Grab a phone flashlight, hold the pendant at a sharp angle and watch the sparkle. Real diamonds throw a rainbow of colors, while CZ gives a single, white‑bright flash. Follow up with the fog test – a diamond clears the breath instantly, a CZ stays misty for a second or two. Those two tricks together answer the core question of how to tell cubic zirconia from diamond in a airport bathroom.
Does the fog test work on every type of CZ coating?
Not always. Some high‑end CZ pieces are coated with a thin carbon‑diamond layer that slows down the fog‑clearance, making them behave more like a real diamond. If the stone clears instantly but still looks too perfect, give it a quick weight check or glance through a loupe. The coating trick is why we recommend pairing the fog test with at least one other method.
What weight difference should I notice between a CZ and a diamond of the same size?
A cubic zirconia is roughly 1.5‑1.7 times heavier than a diamond of equal carat. So a 0.5 ct CZ will feel noticeably solid in your hand, while a 0.5 ct diamond feels light, almost buoyant. On the go, compare the stone against a known reference – a stainless‑steel pen or a coin. If it pulls your hand down a notch, you’re likely looking at CZ.
Can a simple loupe reveal the difference between CZ and diamond?
Yes. A 10× loupe will show you the stone’s surface texture. Diamonds often display subtle growth lines or tiny internal inclusions; CZ is usually flawless and may show a faint, glassy film or a uniform “grid” pattern. Look for crisp facet edges – diamonds cut cleanly, while CZ edges can appear slightly rounded. Those visual cues are a reliable shortcut when you don’t have a lab report.
Are there any cheap tools I can buy to test my jewelry on the go?
Absolutely. A pocket digital scale (costing under $20) lets you weigh a stone in grams, giving you a quick density clue. A basic 10× jeweler’s loupe fits in any travel pouch, and a thermal conductivity tester – the kind used by jewelers – costs about $30 and flashes a green light for diamonds, red for CZ. Together they form a low‑cost travel kit that answers most “how to tell cubic zirconia from diamond” questions.
When should I trust a lab report versus my own tests?
If you’re about to spend a few hundred dollars or more, a GIA‑ or IGI‑issued certificate is the gold standard. The report includes a laser‑etched ID that matches the stone, eliminating guesswork. Your DIY checks are great for quick confidence, but a lab report removes any lingering doubt, especially when you plan to insure the piece or resell it later.
How do I protect my travel jewelry after I’ve identified it?
Store the stone in a soft pouch separate from other pieces to avoid scratches. Keep a digital copy of any certification on your phone and a printed copy in a safe. If it’s a CZ, consider a light‑coat protector spray to guard against everyday wear. And always travel with a small travel‑size loupe – you’ll thank yourself the next time you need to verify sparkle at a hotel bar.
Conclusion
After wandering through sparkle tests, fog checks, weight feels, and a quick loupe peek, you’ve got a toolbox that any jet‑setter can pull out in a hotel bathroom.
So, how to tell cubic zirconia from diamond without a lab report? Trust the combo: a rainbow fire under angled light, instant fog clearance, a light‑as‑air heft, and crisp facet edges under 10× magnification. When those signals line up, you’re pretty safe to call it a diamond; if one or two feel off, you’re probably looking at a CZ.
Remember, a cheap thermal tester or a pocket scale isn’t a magic wand, but paired with your senses they become a reliable sidekick. And if you ever doubt yourself, a GIA‑issued certificate is the ultimate passport – especially before insurance or resale.
Here’s a quick checklist you can jot on the back of your boarding pass:
- Fire: multicolored sparkles?
- Fog: disappears instantly?
- Weight: feels buoyant?
- Loupe: sharp facets, no glassy film?
Keep that list handy, and you’ll never waste money on a glittering imposter again. Safe travels, confident sparkle, and enjoy every shine you wear.
And the best part? All of this fits in a tiny pouch you already carry, so you can stay stylish and savvy wherever the runway—or runway‑like airport lounge—takes you.