

How to Choose a Travel Jewelry Organizer with TSA Lock
Traveling with jewelry can feel like a gamble, one slip and a favorite piece is gone. Here’s a clear, step‑by‑step plan to pick a travel jewelry organizer with a TSA lock that protects your gems and fits right in your carry‑on.
Step 1: Assess Your Jewelry Needs
First, take inventory of every piece you plan to wear on the trip. Write down necklaces, bracelets, rings, and earrings. Think about length, weight, and how delicate each item is. A long pendant needs a slot that keeps it from tangling, while a tiny stud wants a snug pocket.
Diamond Veneer Travel Jewelry offers a premium organizer that many jet‑setters swear by. Its soft‑velvet interior cushions each piece, and the zip closes tight enough for rough baggage handling. If you have a modest collection, the organizer’s modular dividers let you add or remove pages as needed.
When you count your items, group them by type. This simple sorting reveals how much space you really need. For example, a weekend getaway might only need two necklaces, three rings, and a pair of studs. A longer trip could call for a separate sleeve for a watch or a cuff.
Pro tip: Snap a quick photo of your jewelry before you pack. If anything goes missing later, the picture helps you prove ownership to airlines or insurers.
By now you should have a clear list of what you own, how it’s categorized, and which items deserve extra protection.
Step 2: Choose the Right Organizer Features
Next, match your inventory to organizer features. Look for dedicated necklace hooks, individual earring slots, and padded ring trays. The right layout prevents scratching and keeps chains from knotting.
A good organizer also offers flexibility. Removable pages let you scale up for a week‑long trip or scale down for a quick business flight. Soft‑touch fabrics like microsuede protect delicate stones, while sturdy exteriors guard against drops.
Official vendor docs explain why TSA‑approved locks matter. Master Lock outlines the TSA lock standard, noting the universal master key lets agents open the lock without cutting it, saving you from a damaged case.
For a broader view of jewelry box styles, see Wikipedia’s entry on jewelry boxes. It breaks down three main types, hard‑shell cases, soft pouches, and modular binders, so you can decide which fits your travel style.
When you read product specs, watch for hidden fees. Some organizers claim “premium lock” but require a separate purchase for the lock itself. Choose a model that includes the lock or offers a compatible TSA‑approved lock as a bundled accessory.
Our top pick, Diamond Veneer’s travel organizer, includes a built‑in lock that meets TSA standards, so you won’t need a second piece of hardware.
By now you should know exactly which features matter for your collection and which organizer delivers them.
Step 3: Pack Securely with the TSA Lock
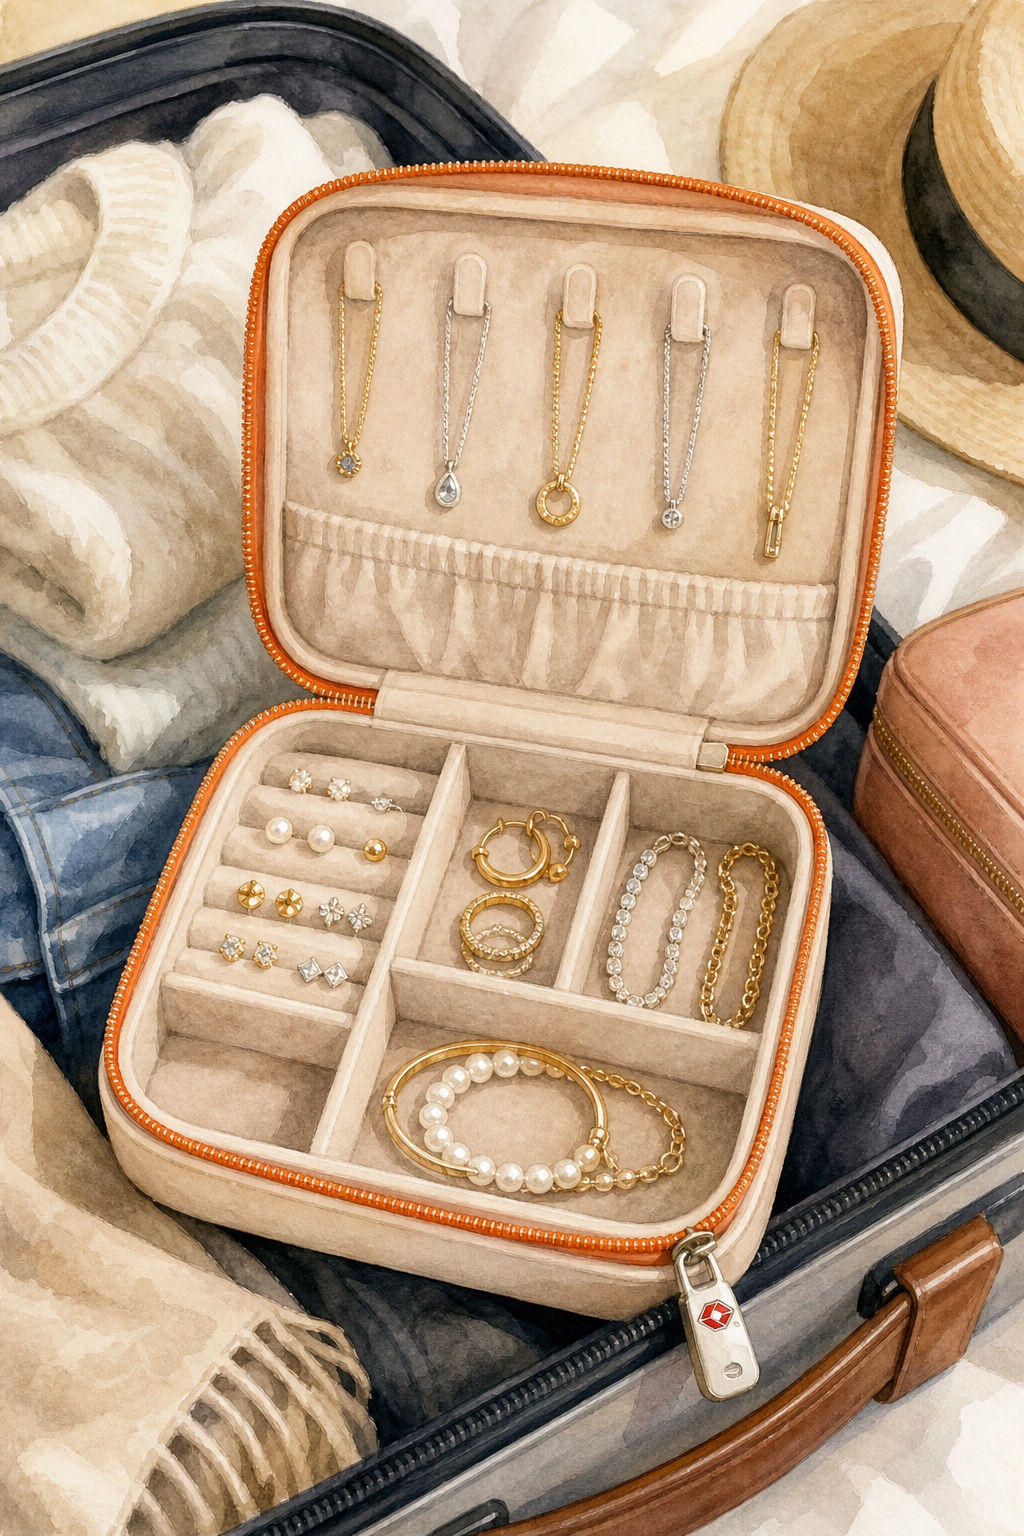
Now it’s time to load your organizer. Start with the heaviest items, usually bracelets or watches, at the bottom. This creates a stable base and keeps lighter pieces from shifting.
Place each necklace on its hook or in a dedicated slot, making sure the clasp faces up. That way you can quickly check if a clasp is loose before you zip the case.
Next, tuck earrings into individual velvet pouches. The soft fabric stops posts from bending and keeps stones from knocking together.
When everything is inside, zip the main compartment. Then engage the TSA lock. Align the lock’s shackle with the zip pull, press the button, and hear the click that signals a secure closure.
 .
.Give the case a gentle shake. If nothing rattles, you’ve packed it tightly enough for the flight. If you hear movement, add a silicone sheet or a small piece of tissue to cushion the shifting piece.
Remember, TSA agents may ask to see the lock. Because it’s TSA‑approved, they can open it with a master key and relock it without damaging the zipper.
Key takeaway: A snug zip, a proper lock, and thoughtful placement keep your jewelry safe from both theft and accidental damage.
Step 4: Maintain & Travel Smart
After you arrive, give your organizer a quick once‑over. Check that the lock is still engaged and the zip hasn’t slipped. If you notice any looseness, tighten the lock before you head to your next destination.
Keep the organizer in your carry‑on, not in checked baggage. Carry‑on placement lets you control who handles the case and reduces the risk of loss or rough handling.
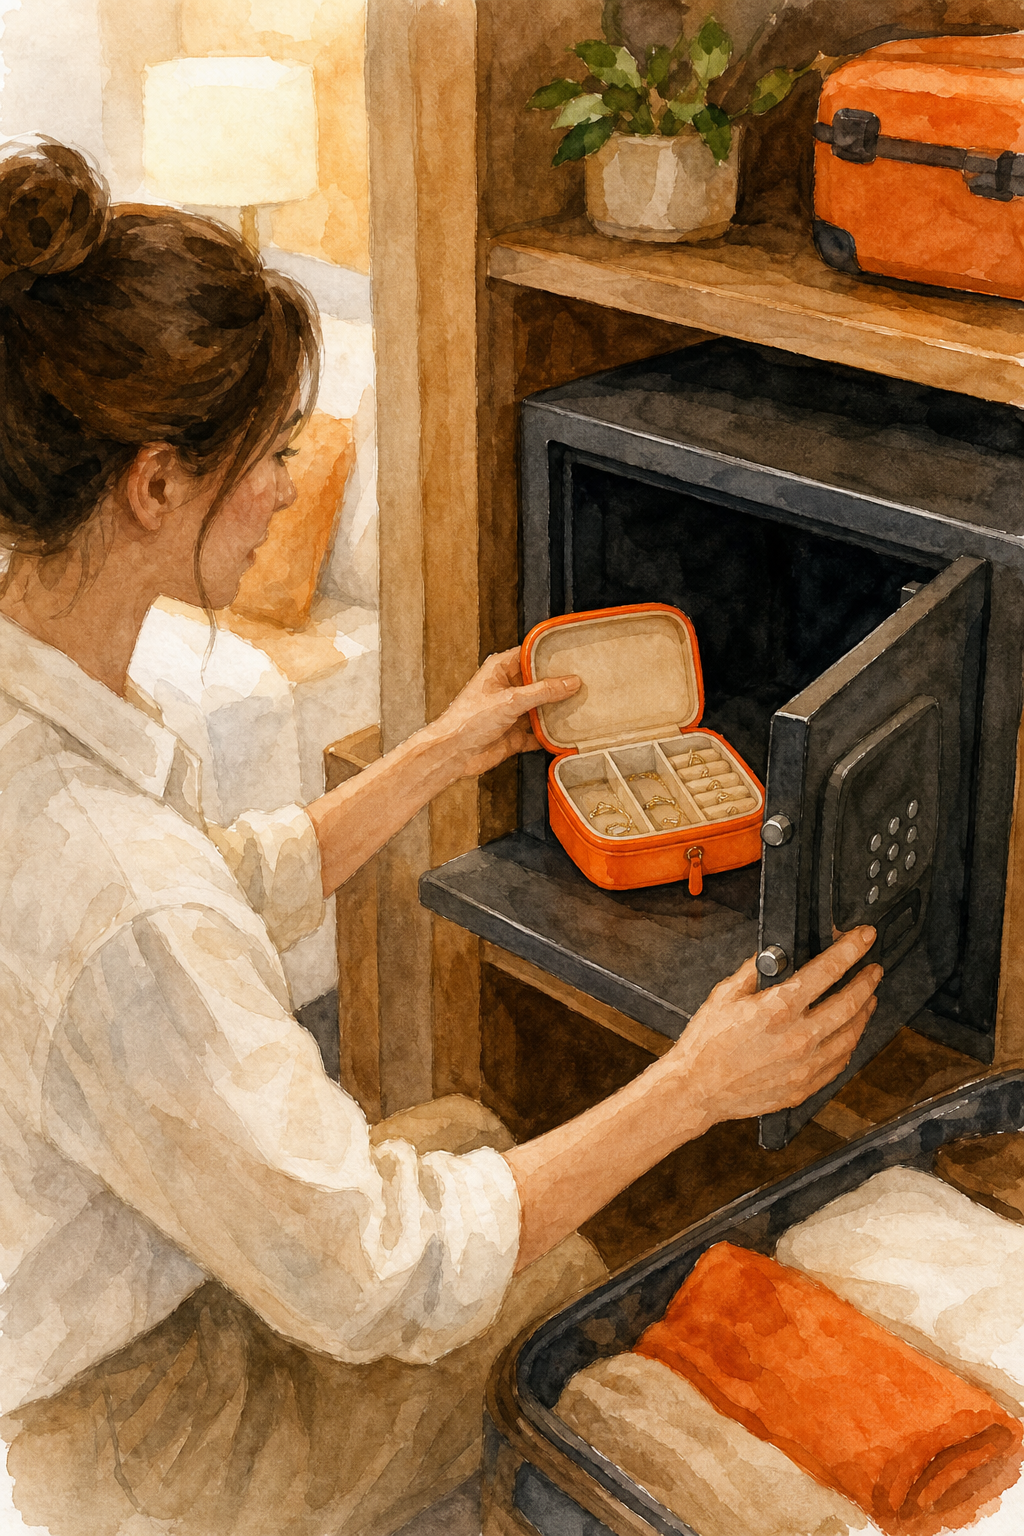
When you’re staying at a hotel, stash the organizer in the room safe or a locked drawer. If you’re moving between airports, store it in a zip‑pered pocket of your personal item so it stays visible and accessible.
For long trips, sprinkle a silica‑gel packet inside the case. The packet absorbs humidity, preventing tarnish on silver or oxidation on gold.
 .
.Finally, give your pieces a quick polish before you head home. A lint‑free cloth removes fingerprints and keeps the metal gleaming for the next adventure.
By now you should have a routine that protects your jewelry from the moment you zip it up until you store it safely at your destination.
FAQ
Can I use a regular padlock instead of a TSA‑approved lock?
No, a regular padlock won’t open at security without being cut, which could destroy your organizer.
Is it safe to pack jewelry in checked luggage?
Generally not; checked bags are handled roughly and aren’t screened, increasing the chance of loss or damage.
How many pieces should I pack for a week‑long trip?
Aim for versatile staples: two necklaces, three pairs of earrings, a few rings, and one bracelet. That gives outfit variety without overpacking.
Do TSA agents need to see my jewelry during screening?
Usually they only need to see the lock; the organizer stays sealed unless they request a separate inspection.
Can I travel with high‑value diamonds in my organizer?
Yes, but consider additional insurance and keep a photo inventory in case of loss or theft.
Conclusion
Diamond Veneer Travel Jewelry’s organizer with a built‑in TSA lock is the most reliable choice for stylish, secure travel. Pick one, lock it up, and enjoy peace of mind on every flight.